To add a teacher, type the teacher identification and name in the text boxes and click
on the Add button. To remove a teacher, click on the teacher in the list and then
click on the Remove button. To alter the identification or name of a teacher, click on the
teacher in the list then overtype and click on the Add button. Bear in mind that if the
identification of a teacher is changed the program will automatically change the teacher
identification wherever it occurs in the school data.
When entering the teacher data, if you click on the Room text box a list of rooms will
appear on the right. Clicking on rooms will cause those rooms to be assigned to the
selected teacher. To remove the rooms assigned to the teacher, click on the word Clear
in the list. To alter the rooms assigned to a teacher, clear and start again.
When allocating a room to a teacher, the program will choose a room from the list of rooms
assigned to that teacher, giving priority to the first rooms specified.
Therefore, if a teacher is assigned one room, and no other teacher is assigned that room,
then that teacher will be placed in that room. Otherwise, groups of teachers can share
groups of rooms. Teachers with no rooms assigned will be placed in whichever rooms are
available.
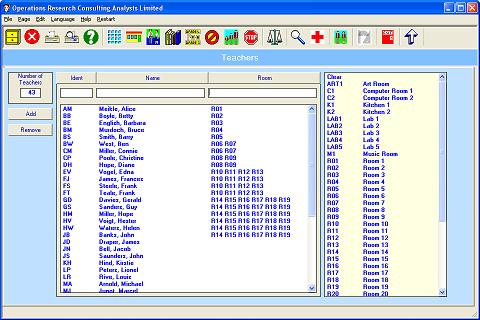
As an illustration, the first five teachers above have their own rooms. Then two pairs
of teachers share two rooms. The next four teachers share four rooms, and the following
six teachers share six rooms.
Of course, use of the classroom facility is optional. Using the program for the first time
you may wish to leave rooms out to begin with and add them in later, after you
have succeeded in creating a timetable.